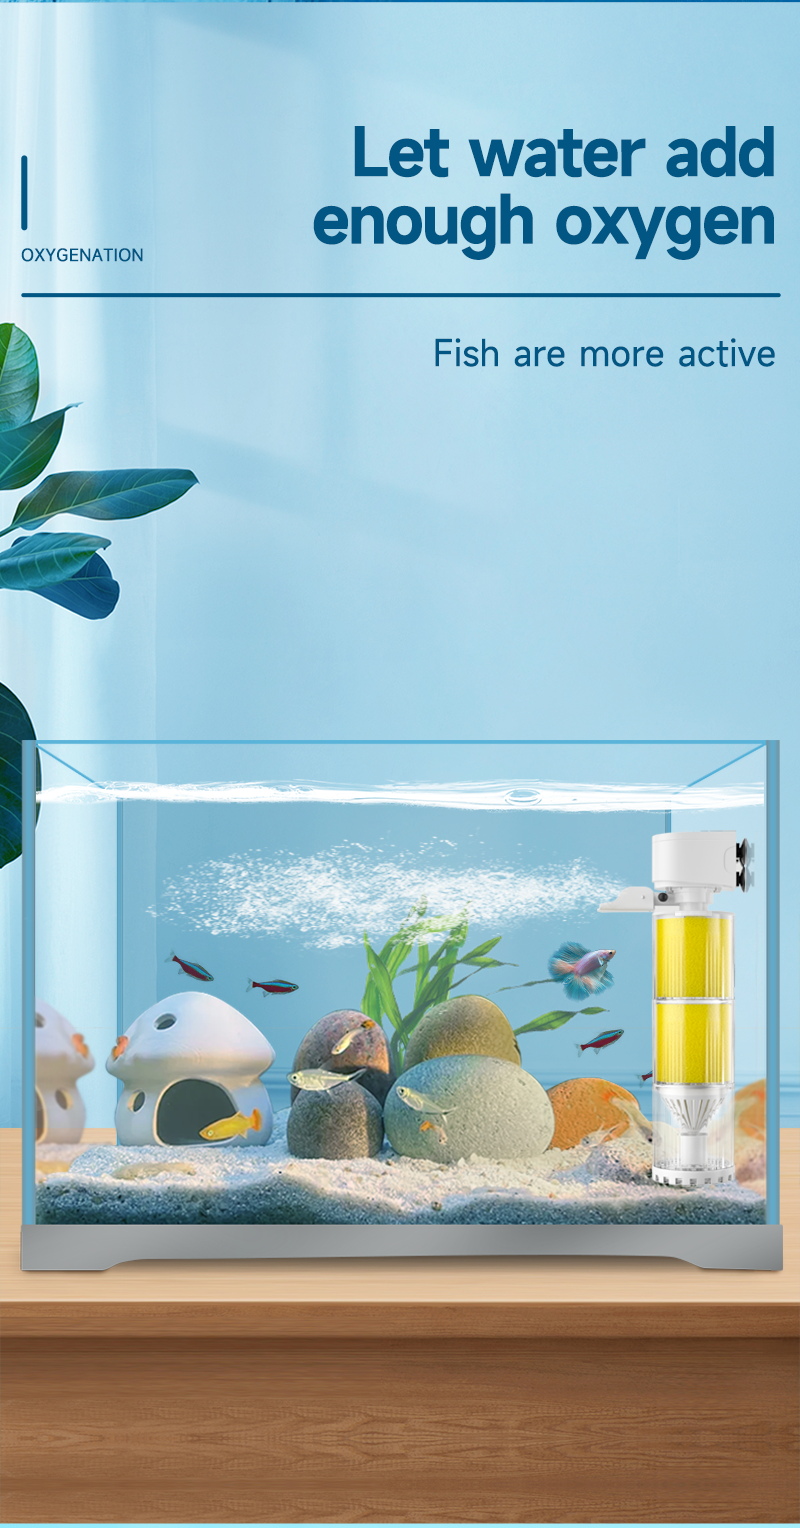
Whether you’re maintaining an aquarium, replacing filter media is a crucial task that ensures optimal performance and longevity of the equipment. However, the process can be a bit tricky if you don’t follow the right steps. In this article, we’ll explore the best practices for replacing filter media, covering preparation, execution, and post-replacement care.
Preparation Is Key
Before diving into the replacement process, thorough preparation is essential. First, gather all the necessary tools and materials. This typically includes the new filter media, a clean container for disposing of the old media, gloves to keep your hands clean, and possibly a screwdriver or wrench if the filter housing requires disassembly.
For aquariums, it’s also a good idea to have a bucket and a siphon hose handy. You may need to remove some water temporarily to access the filter without causing a mess. In the case of air purifiers or HVAC systems, ensure you have a vacuum cleaner nearby to clean up any dust or debris that may have accumulated around the filter area.
Step-by-Step Replacement Process
1. Turn Off the System
Safety should always be your top priority. Before you start, turn off the device or system that the filter media is part of. For an aquarium, this means switching off the pump to prevent water from flowing through the filter while you work. For air purifiers or HVAC systems, disconnecting the power supply ensures that you don’t accidentally get electrocuted or damage the equipment.
2. Remove the Old Filter Media
Carefully open the filter housing. In aquarium filters, the media is often housed in cartridges or compartments that can be easily pulled out. For air filters, you’ll usually find a slot or panel that holds the filter in place. When removing the old media, be cautious not to spill any debris or water. If the media is particularly dirty, you might want to place a plastic sheet or newspaper underneath to catch any fallout.
3. Inspect the Filter Housing
While the filter media is out, take a moment to inspect the filter housing. Look for any signs of wear, damage, or buildup of grime. In aquarium filters, algae or mineral deposits can accumulate on the walls of the housing. For air filters, check for rust or cracks that could compromise the seal. Cleaning the housing at this stage is a good idea. Use a soft brush or cloth to wipe away any dirt, and rinse it thoroughly with water (for aquarium filters) or a damp cloth (for air filters).
4. Install the New Filter Media
Now it’s time to put in the new filter media. Make sure you have the correct type and size for your system. For aquariums, you may have a combination of mechanical, chemical, and biological media. Follow the manufacturer’s instructions on how to arrange them properly. For example, the mechanical media (like foam) usually goes first to trap large particles, followed by chemical media (like activated carbon) and then biological media (like bio-balls).
When placing the new media, ensure it fits snugly but doesn’t get compressed too much. Proper airflow or water flow is essential for the filter to work efficiently. For air filters, simply slide the new media into the slot, making sure it’s fully seated and aligned correctly.
5. Reassemble and Test
Once the new filter media is in place, reassemble the filter housing. Tighten any screws or clips securely but be careful not to overtighten, as this could damage the housing or the media itself. For aquarium filters, reconnect the hoses and power supply, then turn on the pump. Check for any leaks or unusual noises. For air filters, turn on the device and make sure the fan is running smoothly without any obstructions.
Post-Replacement Care
After replacing the filter media, it’s important to monitor the system for a while. For aquariums, keep an eye on the water parameters, especially if you’ve replaced biological media. It may take a few days for the beneficial bacteria to re-establish themselves. Test the water regularly and perform partial water changes if necessary.
For air purifiers or HVAC systems, check the air quality readings (if applicable) to ensure that the new filter is effectively capturing pollutants. Also, make a note of the date of replacement so you know when it’s time to change the filter again. Most manufacturers recommend replacing filter media every few months, but this can vary depending on usage and environmental conditions.
Conclusion
Replacing filter media may seem like a simple task, but doing it correctly can make a big difference in the performance and lifespan of your equipment. By following the steps outlined above—preparing thoroughly, executing carefully, and monitoring closely—you can ensure that your filter media replacement is a success. Whether you’re maintaining an aquarium, an air purifier, or an HVAC system, taking the time to do it right will save you time, money, and hassle in the long run.
Post time: May-22-2025

